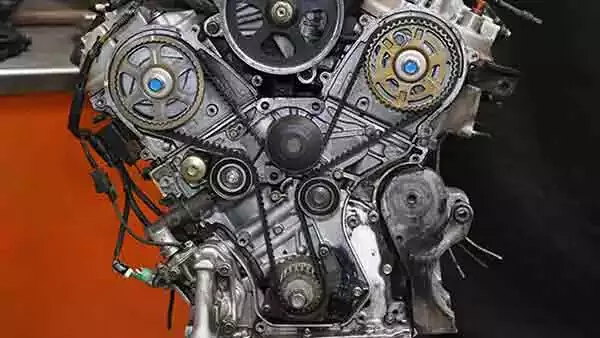
A timing belt is a toothed rubber belt that synchronizes the movement of your vehicle's camshafts and crankshafts, ultimately ensuring proper air flow and pressure in the combustion chamber.
A failing timing belt can compromise engine performance. A broken timing belt can cause engine failure. That's why you should replace your timing belt every 60,000 to 100,000 miles. Check with your owner’s manual for your vehicle’s change interval.
Signs of a Bad Timing Belt
Symptoms of a faulty timing belt include an unexpected check engine light, poor engine performance, exhaust smoke, ticking noises or backfiring from the engine, or a failure of your engine to turn over.
How Long Does It Take to Replace a Timing Belt?
Changing your own timing belt typically takes two to five hours. The steps to changing your timing belt are not inherently difficult. However, accessing the belt can be a challenge. In most instances, you’ll have to remove the entire front accessory drive and timing belt covers.
If your vehicle has a transversely mounted engine, expect six inches or less between the engine and the frame rail, further adding to the difficulty. You may need to temporarily support one end of the engine from above or below. That’s because some engines have a motor mount inside the timing belt, and you must remove the mount to replace the belt.
You might need to remove the engine entirely to access the timing belt on some vehicles. This can often be faster and easier than doing the job with the engine in the vehicle.
Tips and Tricks for DIY Timing Belt Replacement
-
We recommend buying a kit with the timing belt, water pump, gaskets, assorted hardware, and coolant in a single package.
-
Before you remove the timing belt, the cams must be in time with the crank.
-
Some engines require a special tool for the crankshaft bolt. Consult your repair manual about the required tools and parts before attempting this project.
-
In some cases, the water pump is part of the timing belt drive. It’s best to replace the water pump and timing belt at the same time.
-
If your engine has overhead cams, it uses a timing belt or chain to drive the camshafts off the crankshaft. Most of these engines are also considered “interference” engines, which means the pistons can hit the valves if the timing is off by a small amount. When a timing belt breaks on an interference engine, the engine is typically destroyed.

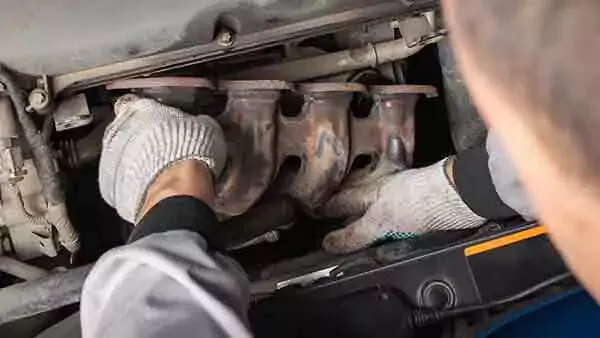
Depending on your vehicle’s engine layout, you might need to remove the fan shroud, radiator, and other components to gain access to the front of the engine. That’s mainly the case for longitudinally-mounted engines that run front to rear. Horizontally-mounted engines positioned sideways in the engine bay do not require removing the radiator. However, other components— such as engine mounts, brackets, or accessory drive components—might be in the way of the timing belt and need to be removed.
Detailed steps for removing the fan shroud, radiator, and other items are provided in the video above and other Driveway DIY articles.

With our demo vehicle, we did not need to remove any of the accessory drive components, such as the water pump, alternator, AC compressor, and power steering pump. However, most engines require the removal of some or all of the drive components and brackets.
In most cases, you do not need to remove the hoses and lines from each component. Never remove AC compressor lines, which will release refrigerant.
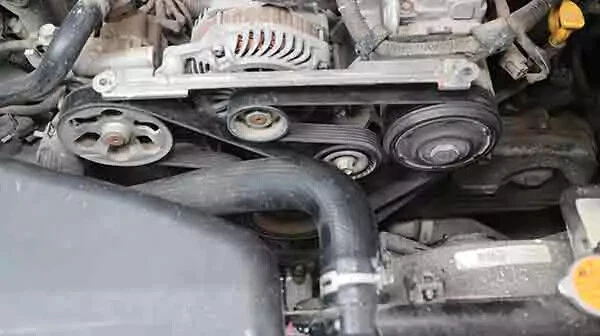
Begin by removing the serpentine belt with a breaker bar and a socket on the tensioner pulley. Some tensioners use a 1/2-inch or 3/8-inch square drive on the tensioner arm instead of a socket or Allen key.

If your vehicle has a mechanical fan that bolts to the water pump pulley, remove it. We used a strap wrench to keep the hub from turning.
If your vehicle has electric fans, skip this step.

Remove timing belt covers. These can be on top and in front of the engine, as with our demo vehicle. Removing the covers provides access to the timing gears and belt.
On some engines, you must remove the crank pulley before removing the covers. Our engine has several covers, so we took them off one at a time.

Remove the timing belt tensioner. Check the condition of the belt and tensioner. If they are worn (or approaching 100,000 miles of use), replace them.

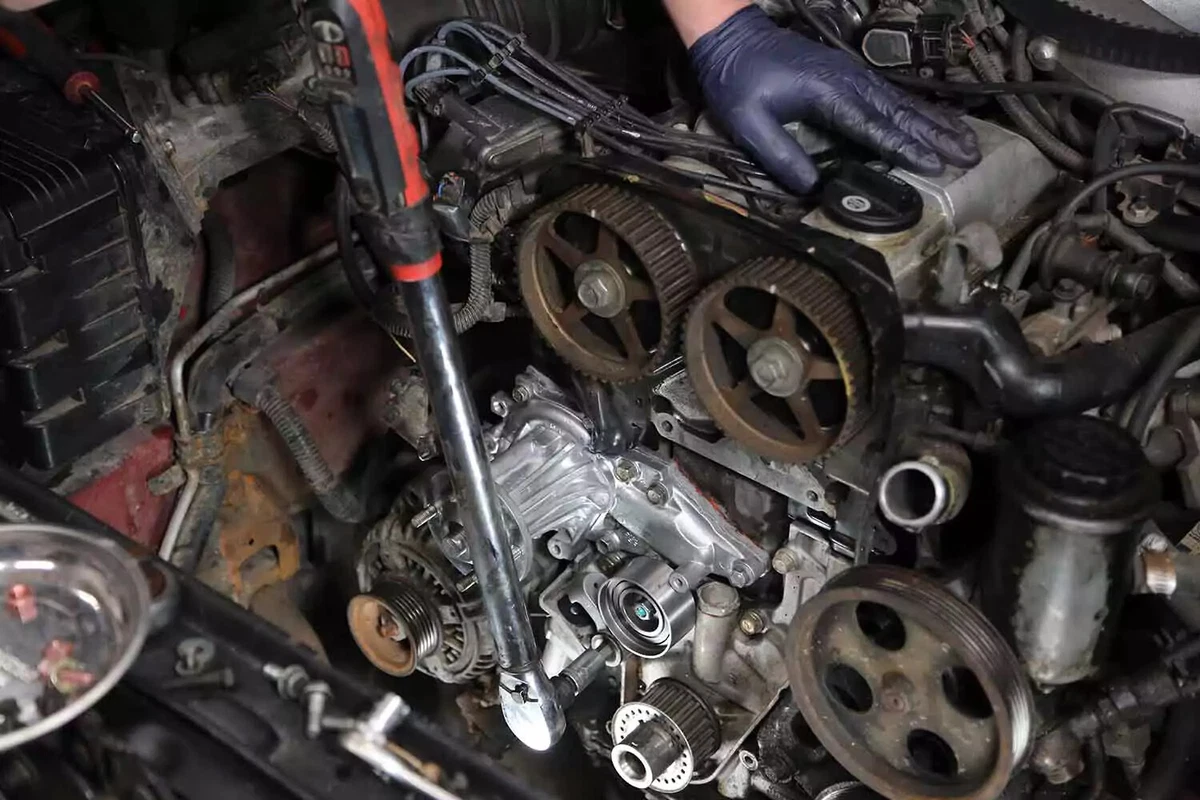
To complete this job, the engine must be at top dead center for cylinder 1. This ensures that the crankshaft, camshafts, and timing gears are in the correct position. If any of these parts move and you don’t correct it, your engine can be severely damaged when you try to start it.
There are marks for the cam and crank gears on the engine. The placement varies. For the engine in our demo vehicle, the crank mark is on the pulley and lower cover, while the cam gears have marks that line up with the metal cover base on the head. Check your repair manual for how your engine is marked.
Use a socket and ratchet or breaker bar to turn the crank until all the marks line up. Always turn the crankshaft in the same direction that it normally rotates. The crank turns twice as fast as the cams, so it takes two full revolutions of the crank to make one revolution of the cam gears. If your engine has a locking bolt or tab, use it to hold the cams in place. Not all engines have a locking bolt or tab. Some engines may require a special tool to prevent the camshafts from turning.
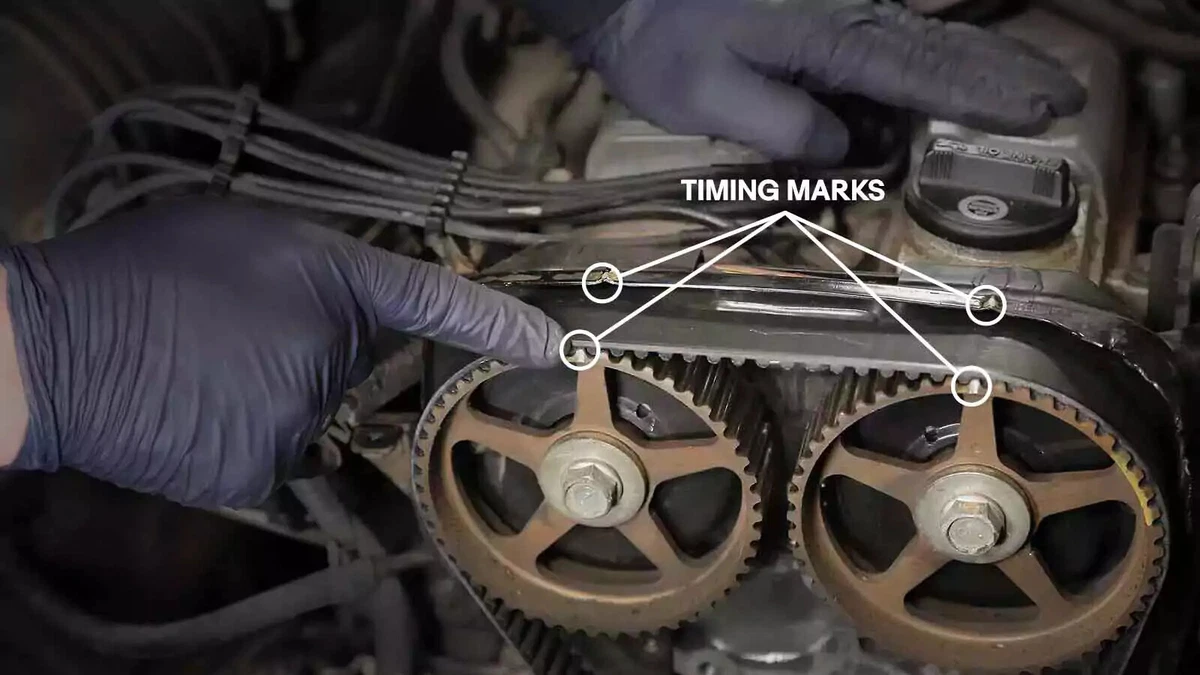
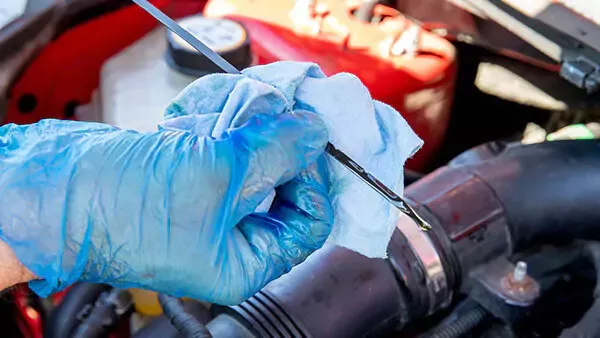
Verify that the cam gears and crankshaft timing marks line up with their respective markers. Paint the marks to make them easier to see.
This engine uses a metal peak on the bracket behind the cam gears, which serves as a timing mark.

We used a marker to highlight the location of the timing marker on the outer cover. This must line up with the crank pulley and be verified with the cam gears. As with the previous step, adding a dab of paint to the marks makes them easier to see. That’s helpful for when you reassemble components.
Most engines have marks on the case behind the cover. On this engine, you can’t pull the cover without removing the crank pulley, so we made the reference mark before removing it.

If you have an impact gun, you can remove the crank bolt without needing a tool to hold the crank from spinning.
If you do not have an impact tool, you will need a crankshaft stop tool.

Use a puller tool to remove the crank pulley from the crankshaft snout. Also, remove the lower cover. (It might not be necessary to remove the pulley to pull out the cover.)
-
We used a universal bolt-on puller. Other engines might require a special tool. Check your repair manual.
-
We used a strap wrench on the pulley to ensure the crank didn’t spin during the removal process.

Most timing belts have some form of tensioner. If your vehicle has an adjustable tensioner, loosen the belt.
The engine on our demo vehicle uses a spring-loaded tensioner that is not adjustable. You must remove it to allow the belt to be removed or installed.
Tensioners are usually replaced, but some engines have reusable tensioners.

Remove the tensioner pulley bolt. Keep the bolt and the tensioner pulley for re-use.
Consult your repair manual if the spacer and liner inside the pulley mount should be re-used, which is usually the case.
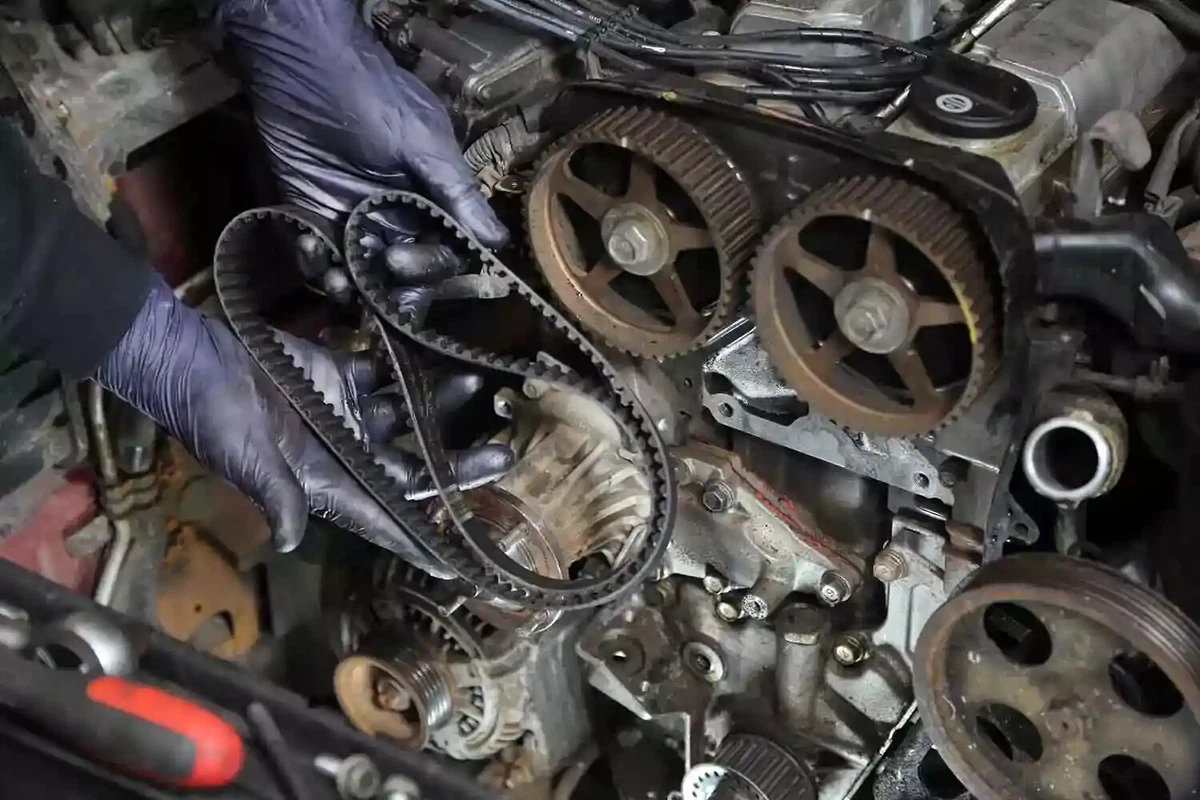
The belt should now be loose. Carefully remove it from the crank and cam gears. Be cautious not to move the gear even slightly.
If you move a cam gear, adjust it to the timing mark. Casting tabs may serve as walk-off prevention, so be careful not to let them (or anything else) interfere with keeping the gears from moving off their marks.
The belt should easily slide off the gear.

The following steps—13 through 15—are optional but highly recommended. Many engines with timing belts incorporate the water pump into the timing belt system. That was the case with our demo vehicle.
If your vehicle integrates the water pump into the timing belt, we recommend replacing the pump now. It's convenient to replace the timing belt and water pump at the same time for two reasons. First, the steps you take to access the timing belt are also required to access the integrated water pump. Second, the expected lifespans of a water pump and timing belt are similar.
Look for a timing kit with a belt and water pump.
- opens in new window or tab.
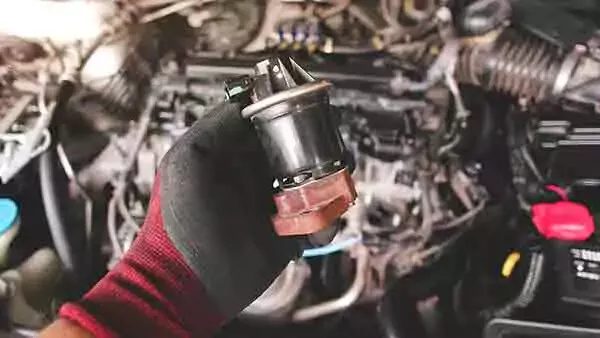
Remove the water pump bolts, noting their locations, and save them for reuse. The bolts are often different sizes.
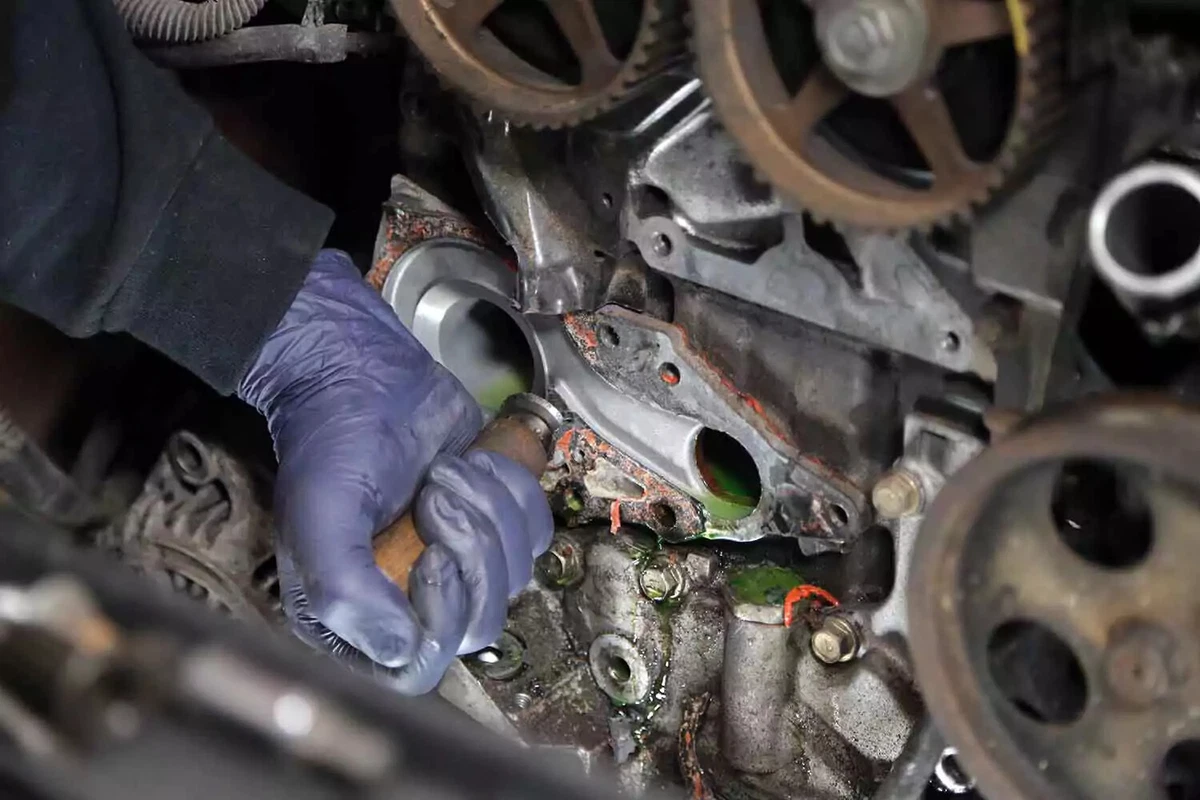
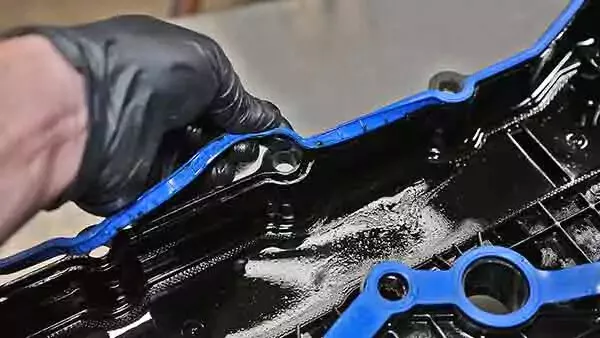
With the pump removed, clean the gasket off the block with a gasket scraper. This may not be necessary, depending on the type of gasket. Regardless, leave a clean surface for the new gasket.

Install the new water pump with a new gasket using the original hardware. The bolts, typically torqued to about 20 pound-feet, are easily stripped. We recommend using a torque wrench.
The engine is now ready for the new timing belt. This can be tricky to install because the belt has a little slack, and it’s critical to avoid moving the gears.
Start by installing the belt tight around the crank gear. Then, follow the original routing to the first cam gear.

Pull just tight enough to remove any slack but not hard enough to roll the gear. Slide the belt over the first cam gear, ensuring each cog is snug in the gear teeth. There should be no slack between the gears.

Usually, a couple of cast-in bosses or tabs keep the belt from walking off the gear or climbing the teeth.
Slip the belt in between the gear and the tab. Verify that the positioning is correct by checking the alignment of the timing marks.

The pin holds the tensioner arm in the open position. Do not pull the pin yet. If you’re reusing the old tensioner, you may need to adapt a cotter pin or piece of welding rod to serve as a pin.
Tighten the bolts to the torque specifications recommended in your repair manual, probably 12 to 20 pound-feet.

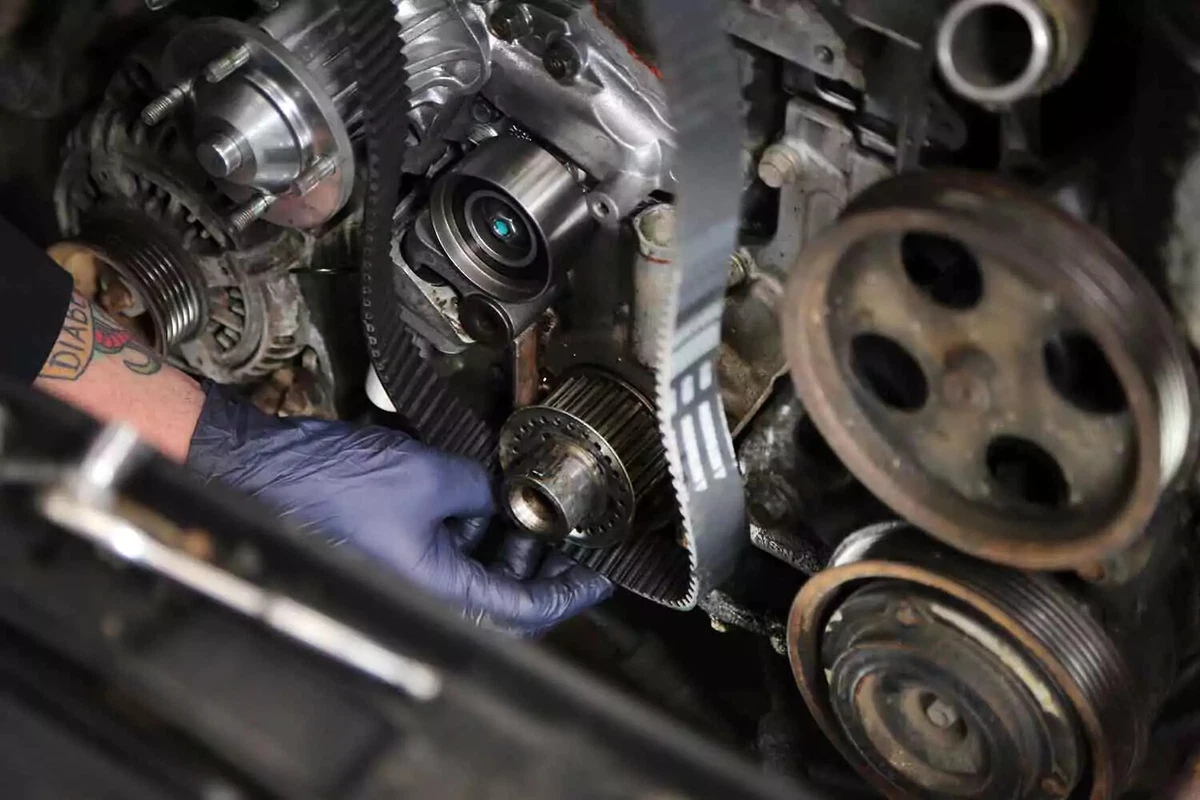
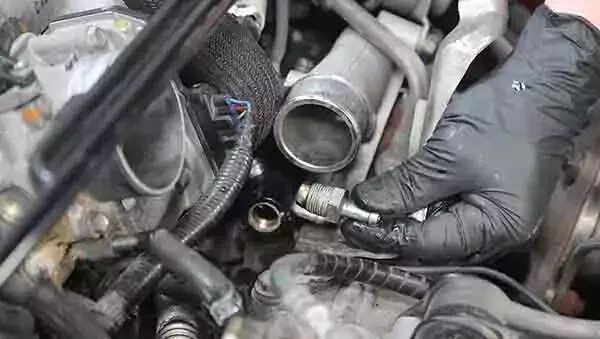
Place the new tensioner pulley into position and bolt it down with the original hardware. We removed the belt for this photograph so you can see the bolt and tensioner.
Use the spacer or bushing provided with the new pulley. If they are not provided, reuse the original spacer or bushing.
Torque the tensioner pulley bolts. Refer to your repair manual for your engine’s torque specifications. One last time, verify that the timing marks have not moved.
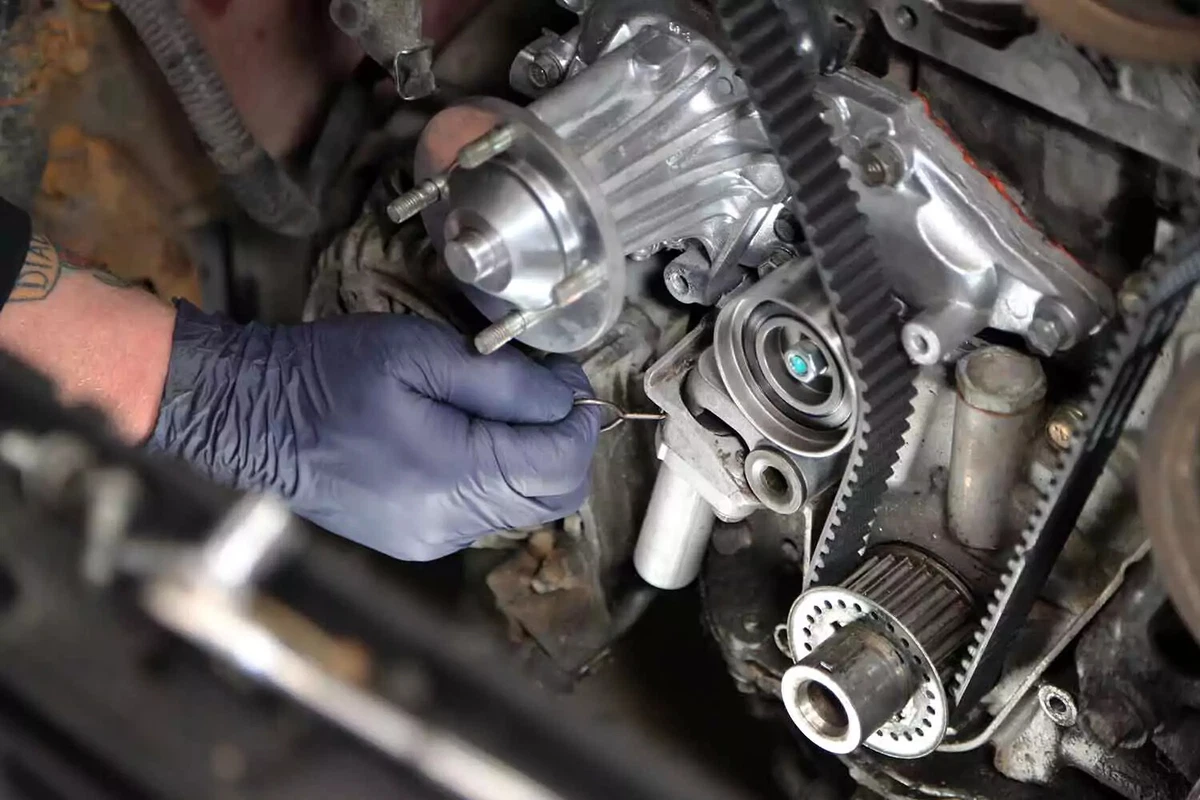
Pull the tensioner pin. The timing belt is now installed.
Use the original crank bolt and a couple of large washers to spin the crank a few times in the direction of normal engine rotation. Verify that the timing marks line back up with each full rotation.

Reinstall and torque the crank pulley, which may require a special tool. We used a shop-built tool to keep the crankshaft from turning while we tightened the bolt.
Reinstall any covers that fit behind the crank pulley before installing the pulley.
Some crank bolts—particularly on engines made as early as the late 1990s—are one-time use. Torque-to-yield (TTY) bolts are not designed for reuse. They must be replaced.
These bolts are installed to an initial low torque value, approximately 48 pound-feet. Then, use a torque-angle gauge to stretch the bolts by the specified amount. Your service manual will have specific values for the initial torque and the number of additional degrees needed.

The main tasks are now complete. Reinstall the covers and components in the reverse order of how they were removed.
Reinstall the serpentine belt and any other components removed for access.
-
If you replace the water pump, top off the cooling system.
-
Add coolant to the overflow/header tank to the “cool” mark on the side of the tank.
-
Start the engine and let it idle for a few minutes. You’ll probably need to add more coolant as air leaves the system.
-
Put the pressure cap on.
-
Watch the level for the next few driving cycles. You may need to add more coolant.
About the author

Share your feedback
This article is meant to provide general guidance only. Automotive maintenance, repair, upgrade, and installation may depend on vehicle-specifics such as make and model. Always consult your owner's manual, repair guide for specific information for your particular vehicle and consider a licensed auto-care professional's help as well, particularly for advance repairs.
Recommended for you
Find answers and inspiration-
A Quick Guide to Valve Cover Gaskets
6 min read -
When to Replace Your Exhaust Manifold Gasket
6 min read -

How to Replace an Ignition Coil
6 min read -
How to Buy the Right EGR Valve and Gasket
6 min read -

Your Complete Idler Pulley Buying Guide
5 min read -

Buying the Right Distributor Cap and Rotor
4 min read -
How to Buy the Right Throttle Body
5 min read -

How to Replace a Drive Belt
5 min read -

How to Replace an Intake Manifold Gasket
7 min read -
How to Buy the Right Car Starter
5 min read -

How to Replace a Valve Cover Gasket
7 min read -
Diagnosing Your Serpentine Belt and Tensioner
6 min read -
Changing Your Oil: 5 Things to Know
6 min read -

How to Clean Fuel Injectors
8 min read -

Automation How to Change a Car Battery
6 min read -

How to Replace a Mass Air Flow (MAF) Sensor
7 min read -

Distributors 101
6 min read -

How to Replace Spark Plugs
7 min read -
Everything You Should Know About EGR Valves
5 min read -
How to Test Your PCV Valve
6 min read -
Buying the Best Portable Car Battery Jump Starter
6 min read -

An Introduction to Cleaning Fuel Injectors
5 min read -

A Deep-Dive Guide to Ignition Wires
7 min read -

How to Replace Engine Mounts
4 min read -
The Right Tools to Clean Your Fuel Injectors
6 min read -

How Do Ignition Coils Work?
5 min read -

Spark Plugs 101
7 min read -
When to Replace Your Drive Belt
6 min read -
Fuel Pumps and How They Work
8 min read -
What to Know About Your Vehicle's Throttle Body
6 min read -
Everything You Need to Know About Fuel Filters
6 min read -

How to Buy the Right Ignition Coils
7 min read -
How to Buy the Right O2 Sensor
5 min read -

How to Replace a Serpentine Belt Tensioner
4 min read -
When to Replace Your Engine Air Filter
5 min read -

How to Replace an Oxygen Sensor
5 min read -
How to Buy the Right Timing Belt and Related Tools
5 min read -

How to Buy the Right Car Distributor
6 min read -

Timing Belts 101
5 min read -

How to Replace an Engine Air Filter
5 min read -
How to Buy the Right Exhaust Manifold Gasket
6 min read -

How to Choose the Best Spark Plugs
5 min read -

How to Replace a Car Starter
7 min read -

What You Should Know About O2 Sensors
6 min read -
How to Buy the Right Valve Cover Gasket
4 min read -

How to Replace a Distributor Cap and Rotor
5 min read -

Understanding Your Car's Idler Pulley
4 min read -

How to Replace a Fuel Filter
7 min read -

How to Replace a PCV Valve
6 min read -
Do You Have a Faulty Mass Air Flow Sensor?
4 min read -
Everything You Need to Know About Car Starters
7 min read -

How to Replace an Exhaust Gasket
9 min read -

Ignition Wire Buying Guide
6 min read -

All About Your Distributor Cap and Rotor
7 min read -

How to Replace a Throttle Body
6 min read -

Spotting Intake Manifold Gasket Problems
7 min read -

How to Change Oil in a Car
8 min read -
How to Buy the Best MAF Sensor
4 min read -

How to Replace an EGR Valve
5 min read -

How to Change an In-Tank Fuel Pump
9 min read


